How to Use Dynamic Markup: A Practical Guide to Automating Your Pricing
How to Use Dynamic Markup: A Practical Guide to Automating Your Pricing
Welcome to Dynamic Markup, the app that’s about to make managing your pricing strategies feel as smooth as that first cup of coffee in the morning. Imagine this: no more headaches from constantly adjusting prices and trying to keep up with inventory changes. It’s like your business just took a vacation, but the profits didn’t. Let’s dive in and learn how to use it step by step, with just a sprinkle of humor to keep things fun.
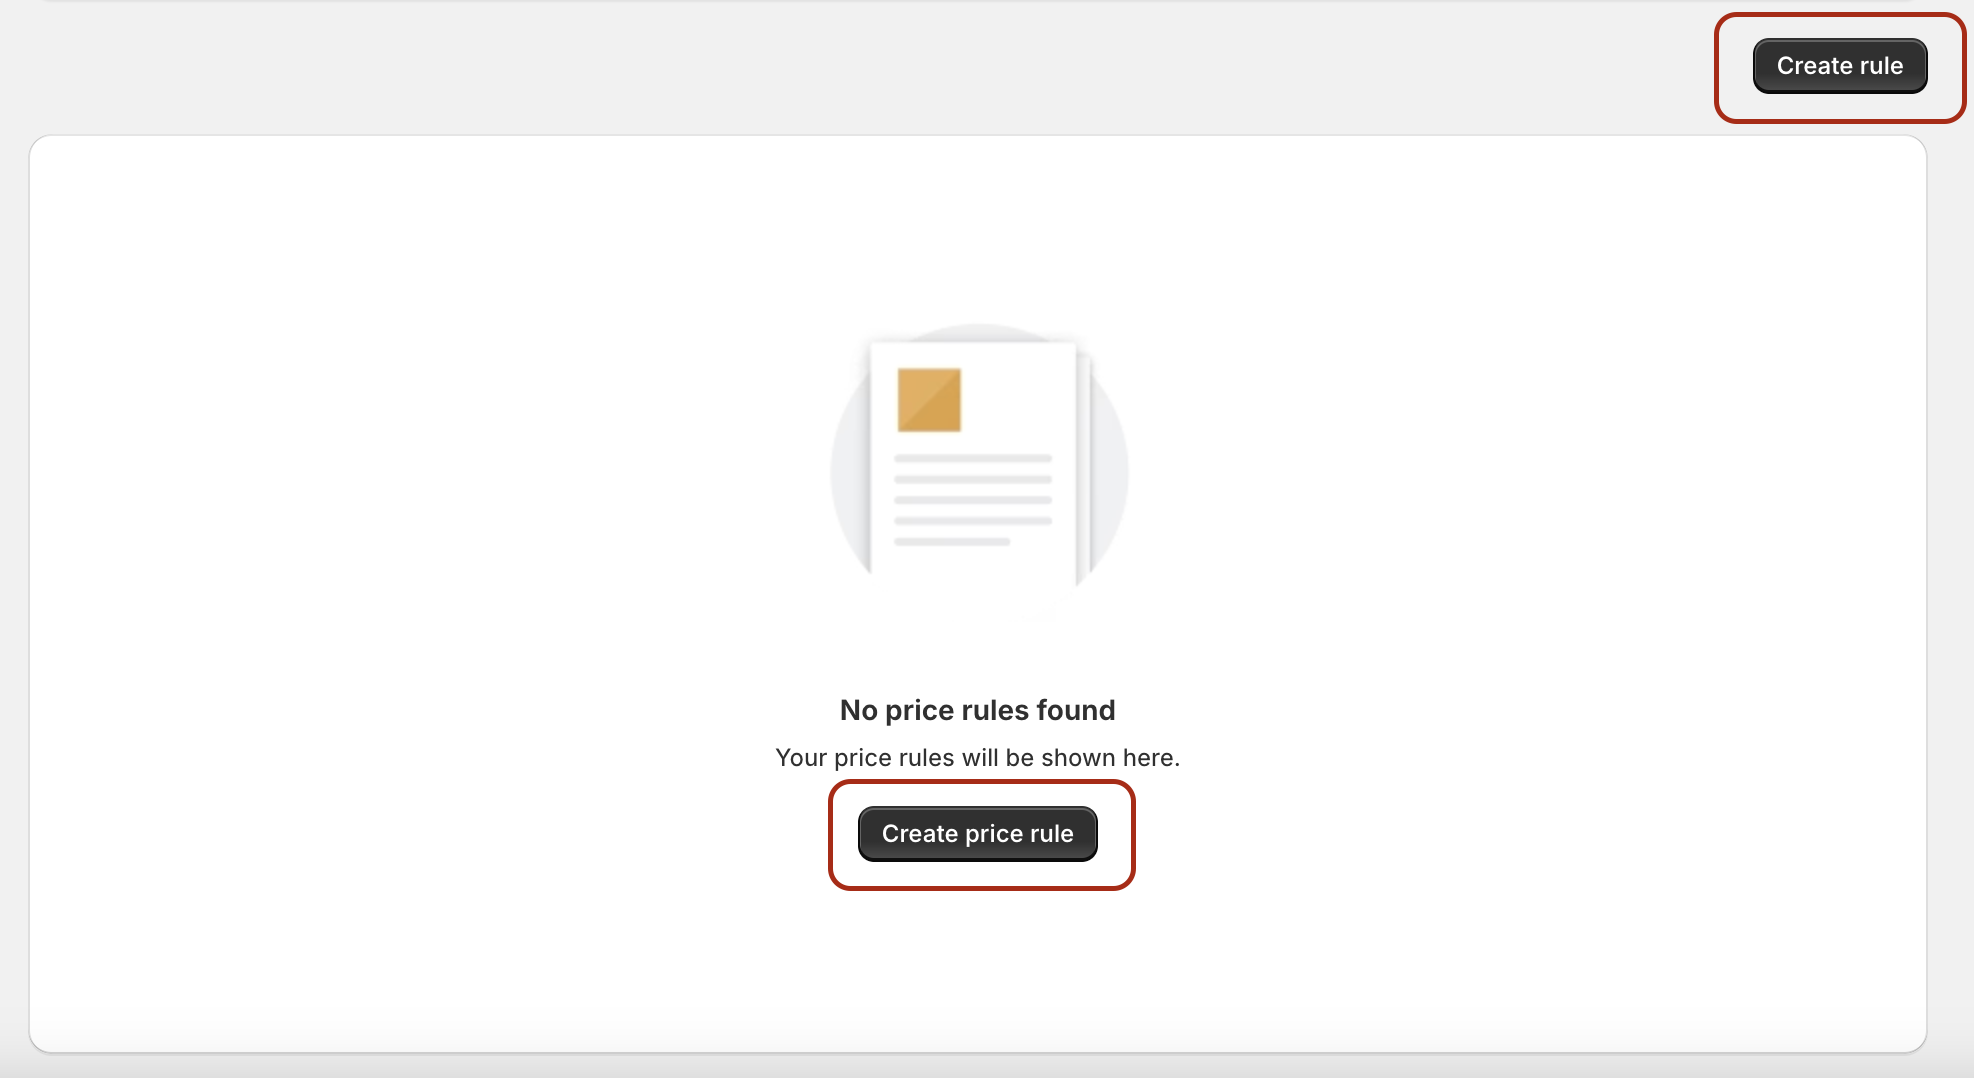
Step 1: The Magical “Create New Rule” Button
The app greets you with a friendly window, inviting you to “Create a New Price Rule.” Go ahead, click it! With that one click, you’re stepping into a new chapter of your business life – one where a lot of the stress around pricing vanishes into thin air.
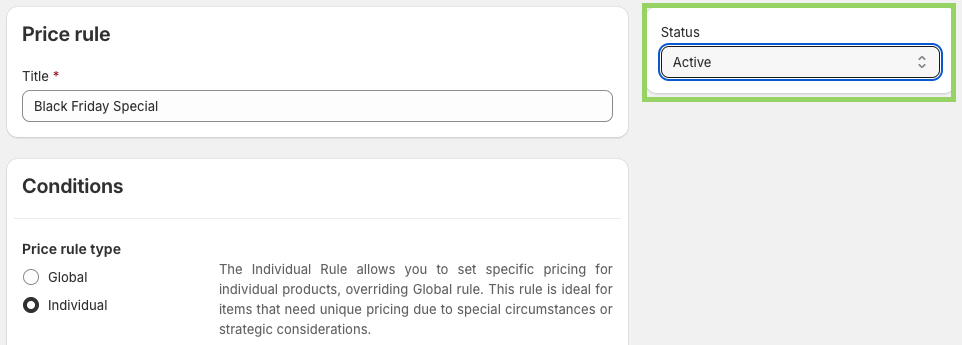
Step 2: Title It Right, My Friend
Next up, you’ll be asked to create a title for your pricing rule. Sure, funny titles like “Price Mayhem” or “Cash Explosion” sound great, but let’s keep it relevant, shall we? Think practical – perhaps it’s your Seasonal Products Sale, a Christmas Special, or my personal favorite, the I’m on Vacation Pricing Strategy. Whatever it is, the title should tell you what this pricing rule is all about because trust me, you’ll thank yourself later.Step 3: Conditions, Conditions, Conditions
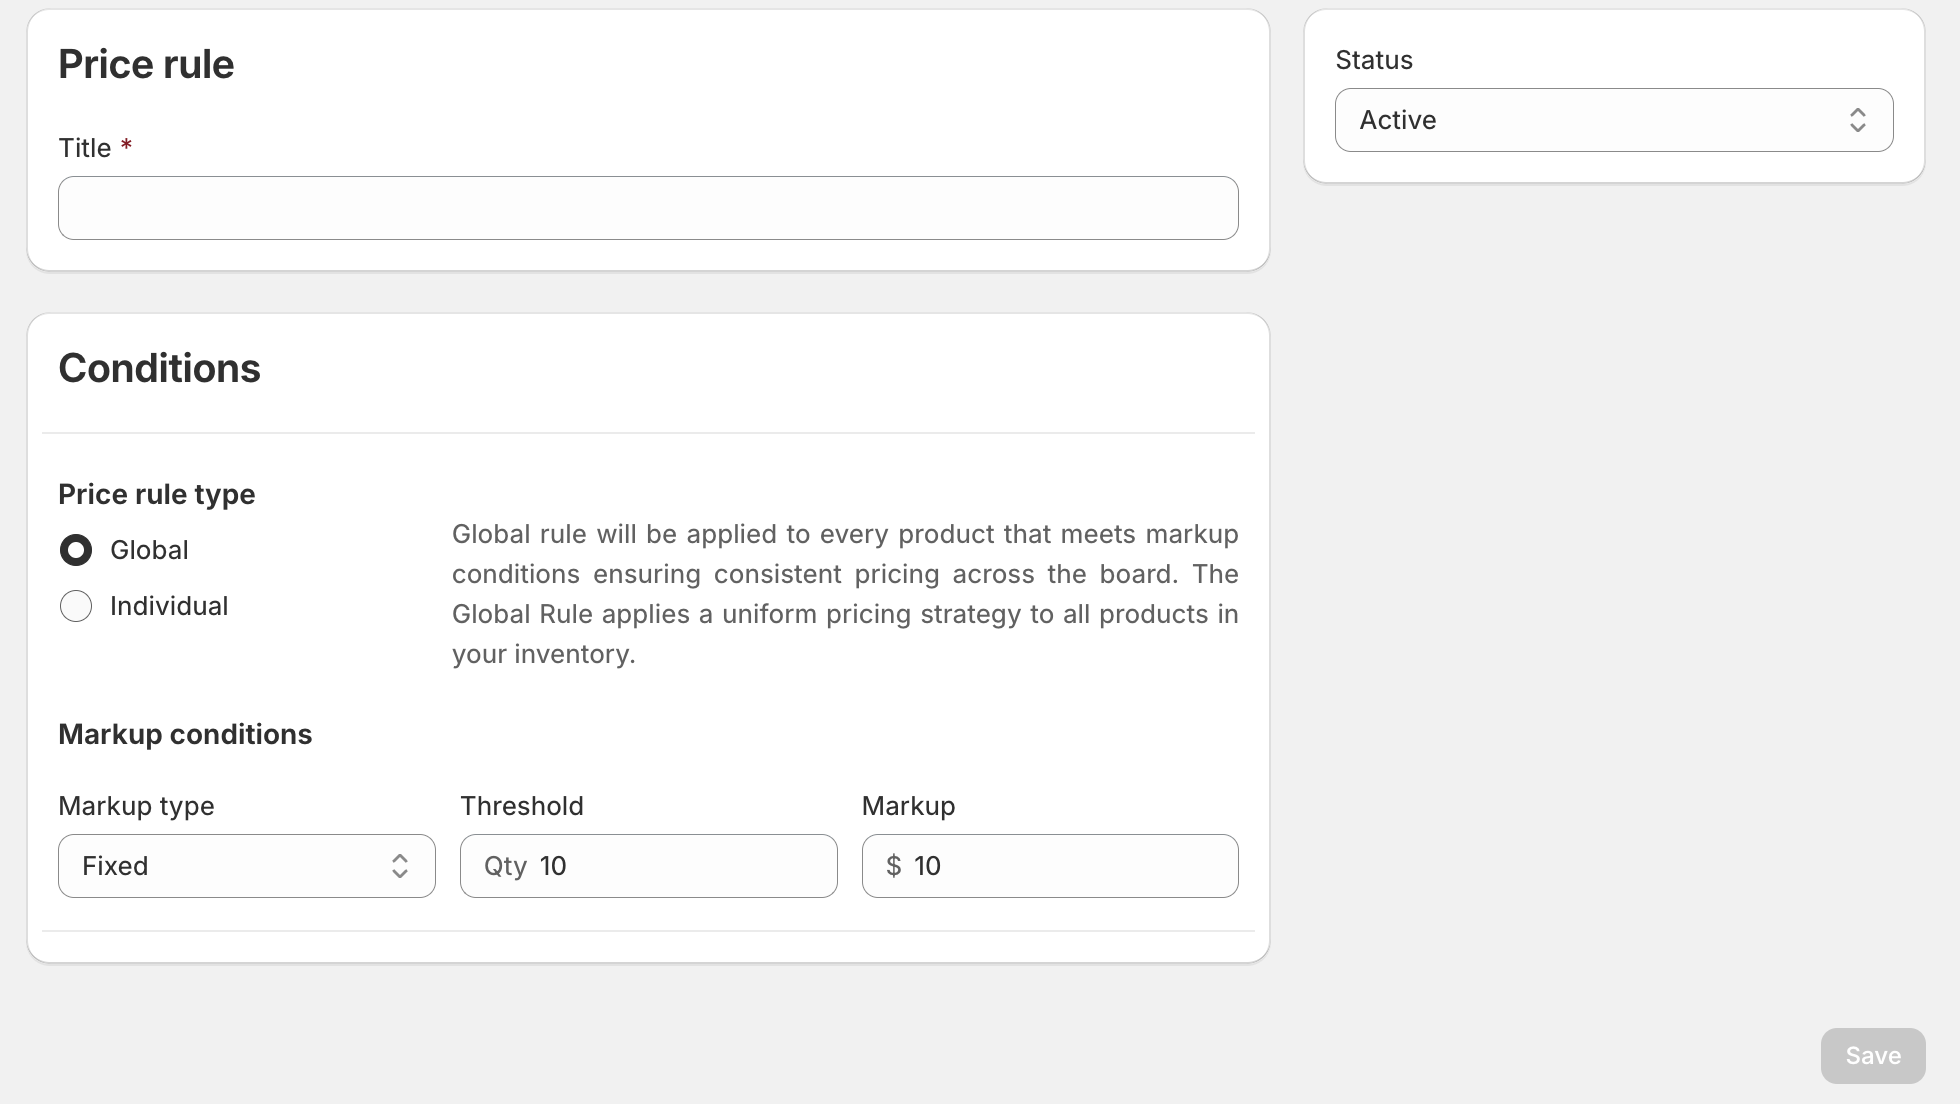
Now, let’s get to the good stuff: Conditions.
Price Rule Type:
- Global Rule:
This is your go-to option for blanket pricing changes across your entire inventory. Every product that meets the conditions will get a consistent markup, ensuring you’re not spending precious time tweaking prices one by one. Perfect for those who want a simple, uniform approach.
- Individual Rule:
Ah, but here’s where you get to play! The Individual Rule lets you target specific products that need special attention – think hot sellers, seasonal gems, or that one quirky item that deserves its own pricing strategy. It overrides the global rule for those special items that need a little extra love.
Step 4: Set Up the Markup
This is where the magic happens. You’ll see three key fields to fill out:
Markup Type:
- Fixed:
Set a fixed markup amount, like $10, $20, or if you’re feeling modest, $2.
- Percentage:
This is the fun one. Add a percentage markup and watch the numbers dance. You can also decide how you want the prices to round off. Feeling fancy? Round up to .99. Want it neat? Round to .00. Feeling thrifty? Round down to .00. For example, if your original price is $776 and you apply a 10% markup, you get $853.60. With rounding, you can make it $853.99 (for those psychological pricing vibes), $854.00 (keep it clean), or $853.00 (for the penny-pinchers among us).
- Inventory Threshold:
This is where the magic meets strategy. Set the inventory threshold at which the rule kicks in. When stock hits this level, boom – your pricing rule goes live. You’re in full control.
Step 5: Activate or Save for Later?
Now that you’ve got everything set up, decide if you want to activate the rule immediately or keep it disabled for now. Maybe you’re planning ahead for a future sale, or maybe you just need time to fine-tune things before unleashing your pricing strategy. Either way, you’ve got options.
Step 6: Global vs. Individual – The Final Touches
If you chose a Global Rule, congratulations! You’re done. Sit back and let the app handle the rest.
If you opted for the Individual Rule, you’ll need to select specific products. Click the “Select Products” button, and either use the search function or scroll through your inventory until you find what you’re looking for. Check the boxes, hit Add, and save. That’s it. You’re on your way to higher profits, my friend!
Step 7: Monitor, Tweak, and Profit
After you’ve saved your rule, the next window will show all your active pricing rules. Here, you can see what type of rule it is (Global or Individual), whether it’s currently active or disabled, and you can make any necessary changes. Need to delete a rule? No problem. Want to create a new one? Easy! Just rinse and repeat.
So, that’s it! You’ve just set up your first automated pricing strategy with Dynamic Markup. No more manually adjusting prices, no more sleepless nights wondering if you’ve priced something too low (or too high!). Sit back, relax, and let your new automated rules handle the heavy lifting. Happy selling – and enjoy those growing profits!